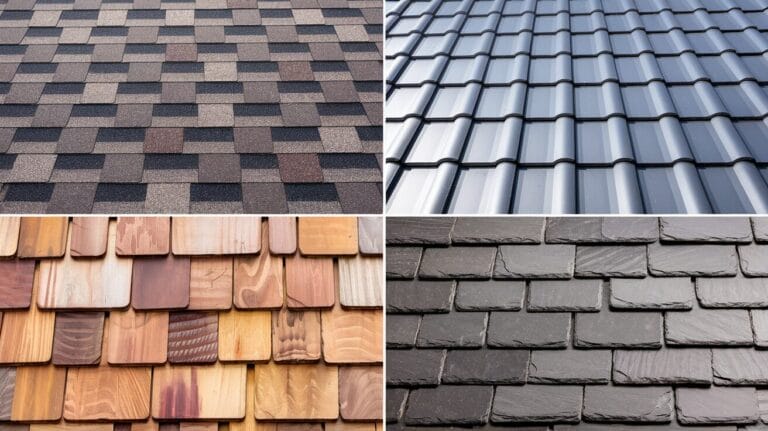
Installing roof shingles is a critical task that contributes to the durability, protection, and aesthetic appeal of your home. While professional roofing contractors offer expert services, understanding the process can be immensely beneficial if you’re planning a DIY project or simply want to supervise the work.
In this guide, we’ll walk you through the steps to successfully install roof shingles, ensuring a durable and weather-resistant roof.
Tools and Materials Required
Before starting, gather the following tools and materials:
- Shingles (enough to cover your roof area, including extra for waste)
- Roofing nails
- Hammer or nail gun
- Roofing felt or underlayment
- Roofing tape
- Utility knife
- Chalk line
- Ladder
- Safety harness
- Measuring tape
- Pry bar (for removing old shingles)
Safety is paramount, so ensure you have gloves, goggles, and non-slip shoes.
Step-by-Step Installation Process
1. Prepare the Roof Surface
A clean and level surface is essential for proper shingle installation. Follow these steps:
- Remove old shingles: Use a pry bar to strip off existing shingles and nails. Dispose of debris properly.
- Inspect the roof deck: Check for any damaged or rotting wood. Replace any compromised sections to ensure a solid foundation.
- Install underlayment: Lay roofing felt or a synthetic underlayment over the entire roof deck. This layer provides additional waterproofing and protects the roof from moisture.
- Secure the drip edge: Attach a drip edge along the edges of the roof to direct water away from the fascia.
2. Measure and Mark Guidelines
Use a chalk line to draw straight guidelines across the roof. These lines will help ensure the shingles are laid evenly.
3. Install Starter Shingles
Starter shingles are essential for sealing the edges of your roof and preventing water from seeping underneath.
- Cut shingles in half horizontally to create a starter row.
- Lay the starter row along the bottom edge of the roof, ensuring a 1/4-inch overhang beyond the drip edge.
- Secure each shingle with roofing nails, placing them about 6 inches apart.
4. Begin Laying Shingles
- First row: Place the first full shingle directly above the starter row. Align it with your chalk line and secure it with four roofing nails.
- Second row: Stagger the seams by cutting 6 inches off the first shingle of the second row. This overlap ensures no direct pathways for water to penetrate.
- Continue this pattern, alternating the starting point of each row to create a staggered look.
5. Secure the Ridge Cap
The ridge cap is the topmost layer that seals the roof’s peak.
- Use pre-cut ridge cap shingles or cut regular shingles to fit.
- Lay the ridge cap shingles along the peak, overlapping each piece.
- Nail each shingle in place, ensuring nails are covered by the next overlapping piece.
6. Inspect Your Work
Check for any gaps, loose shingles, or exposed nails. Address these issues immediately to prevent future problems.
Tips for Successful Installation
- Work in favorable weather: Avoid installing shingles on rainy or extremely hot days. Moderate temperatures ensure better adhesion and easier handling.
- Use proper nailing techniques: Drive nails straight to avoid damaging shingles. Ensure nails penetrate at least 3/4 inch into the roof deck.
- Keep shingles aligned: Regularly check your chalk lines to maintain a consistent and professional look.
- Focus on ventilation: Proper roof ventilation prevents moisture buildup and extends the life of your shingles.
Common Mistakes to Avoid
- Skipping the underlayment: This essential layer protects against leaks and enhances insulation.
- Improper overlap: Ensure each row of shingles overlaps the one below by at least half an inch.
- Inadequate nail placement: Misplaced nails can cause shingles to loosen or water to seep in.
- Ignoring safety precautions: Always use a safety harness and secure your ladder to prevent accidents.
Your Takeaway
Installing roof shingles is a manageable task if approached with the right tools, preparation, and attention to detail. Whether you’re enhancing your DIY skills or overseeing a professional installation, understanding the process ensures a sturdy and weatherproof roof. By following this guide, you can achieve a successful installation that protects your home for years to come.
Remember, if you’re ever unsure about the process or safety, it’s best to consult a professional roofer. A well-installed roof is not just a structural necessity but a vital part of your home’s overall aesthetic and value.